A properly installed network cabling system is the backbone of any modern business. Whether you’re setting up a new office, upgrading outdated wiring, or expanding your current network, the quality of your cabling installation determines the performance, reliability, and scalability of your entire IT infrastructure. Poor cable installations lead to frequent downtime, reduced network speeds, and costly repairs later on. A well-structured cabling solution, on the other hand, supports smooth operations for years.
To help you understand the essentials, here are the 7 key steps for a successful network cabling installation.
1. Assess Your Needs and Plan the Design
Every successful cabling project begins with a detailed assessment. This means understanding the number of devices you need to connect, the types of equipment on your network, and future expansion plans.
Ask questions like:
- How many computers, phones, printers, and access points will be connected?
- What speed requirements does the business need—Cat5e, Cat6, Cat6a, or fiber?
- Will the business expand in the next 2–5 years?
A site survey is often part of this stage. Cabling professionals examine building layout, existing infrastructure, electrical interference points, ceiling access, and possible cable pathways. The goal is to create a cabling plan that is efficient, code-compliant, and scalable.
2. Select the Right Cabling and Materials
Choosing the right cable type is essential for network performance. Copper cables like Cat6 or Cat6a are common in most office environments because they provide excellent speed, support Power over Ethernet (PoE), and are cost-effective. In larger facilities or long-distance runs, fiber cabling may be necessary due to its high bandwidth and low interference.
Other materials needed include:
- Patch panels
- Faceplates and keystone jacks
- Network racks or cabinets
- Cable ties and Velcro straps
- Conduit or cable trays
Selecting high-quality materials reduces signal issues, cable deterioration, and the need for early replacements. Remember: a network is only as strong as the weakest cable.
3. Prepare the Work Area
Before installation starts, the environment must be prepared to ensure safety and efficiency. This may include moving furniture, clearing server room space, and ensuring ceiling or wall access is available.
A clean, organized environment helps technicians work faster and reduces the risk of damaging cables. It also ensures that the final installation looks neat and professional. Preparing the work area also includes shutting down any equipment that may be affected by the installation to prevent damage or data loss.
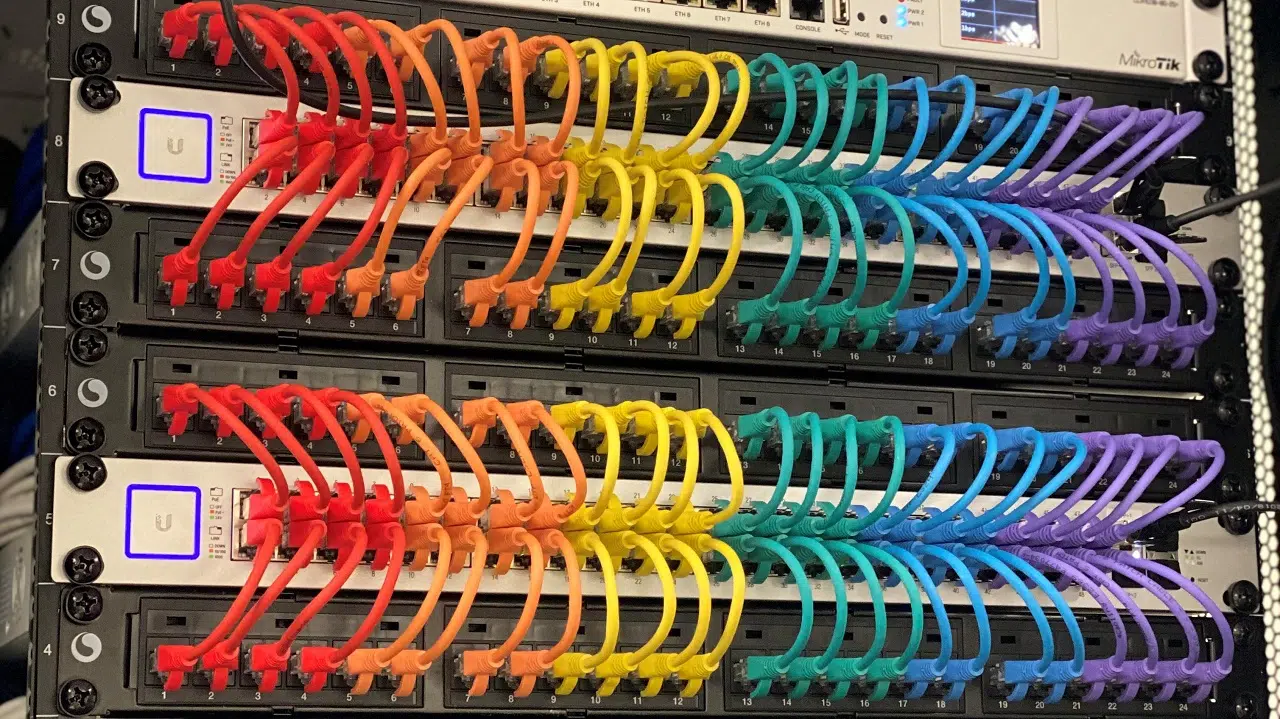
4. Install the Cables
This is the most critical step—running the cables through walls, ceilings, conduits, or raised floors. Professional cabling technicians follow industry best practices such as:
- Avoiding sharp bends or kinks in the cable
- Keeping data cables separate from electrical lines to reduce interference
- Labeling both ends of every cable for easy troubleshooting
- Securing the cable bundles with Velcro (not tight zip-ties to avoid pinching)
- Maintaining proper distance from HVAC ducts or other heat sources
A tidy installation ensures not only reliability but also easier maintenance. Sloppy cabling leads to tangled wires, signal loss, and frustration when changes are needed.
5. Terminate and Connect the Cables
Once the cables are installed and routed, the next step is termination. This involves attaching connectors or punching cables down into patch panels and wall jacks. Proper termination requires precision because poor terminations lead to weak signals, dropped connections, and inconsistent network performance.
Technicians use tools such as punch-down tools, crimpers, and cable testers to make sure each connection meets standards. Termination must follow TIA/EIA wiring guidelines—typically T568A or T568B—to ensure consistency across the network.
6. Test and Certify the Network Cabling
Testing is crucial. A professional installer will use specialized testers to check for continuity, proper pairing, signal loss, interference, and overall cable performance. Certification ensures every cable meets the required category rating (e.g., Cat6) and will perform reliably under real-world conditions.
Testing also helps identify:
- Damaged cables
- Improper terminations
- Excessive cable lengths
- Interference from electrical lines
This step prevents issues from showing up months later and gives you confidence that the installation is truly ready for use.
7. Label, Document, and Finalize the Setup
The final step is labeling and documentation. Every network cable should be clearly labeled on both ends so technicians can quickly identify connections during maintenance, upgrades, or troubleshooting.
Documentation typically includes:
- Cable routes and locations
- Rack and patch panel diagrams
- Cable test results
- Equipment lists
This organized approach saves time and reduces costs in the long run. Once everything is labeled and documented, the network can be connected to switches, routers, and other devices, completing the setup.
Conclusion
A well-planned and professionally installed network cabling system sets your business up for long-term success. By following these seven steps—planning, choosing the right materials, preparing the area, installing cables correctly, terminating properly, testing thoroughly, and documenting everything—you ensure a reliable, fast, and future-ready network.
If you’re looking for affordable, high-quality network cabling installation, Instant Communication delivers expert service with dependable results. From small offices to large commercial spaces, we provide structured cabling solutions that keep your business connected and performing at its best.